Avalara tax provider
Connect to AvaTax
After installing the Avalara tax provider, you need to configure the integration.
Note
Make sure that the plugin is installed and selected as "Enabled" (Configuration → Local plugins). To enable the plugin, click Edit and select the Is enabled checkbox.
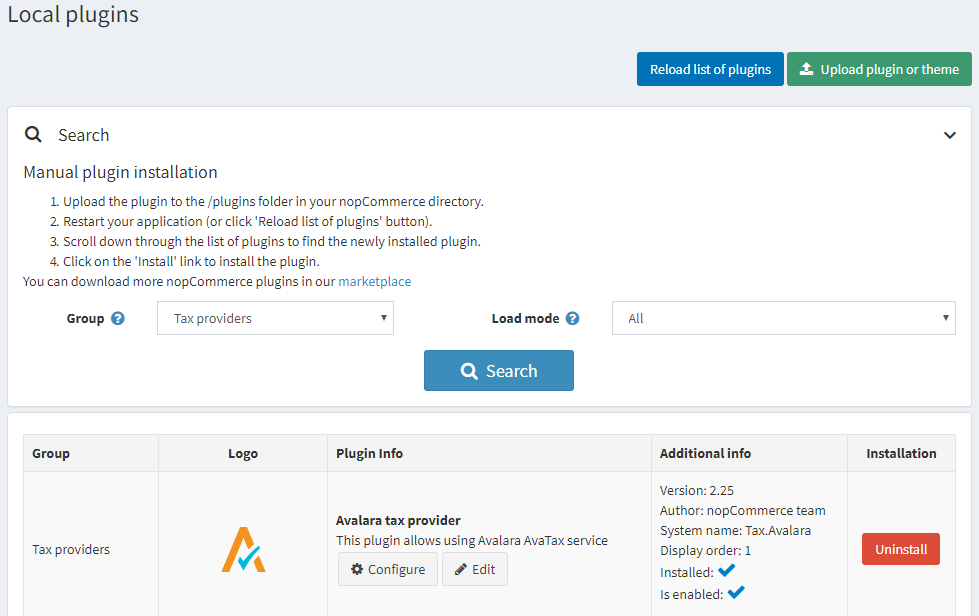
To configure the Avalara tax provider, go to Configuration → Tax providers.
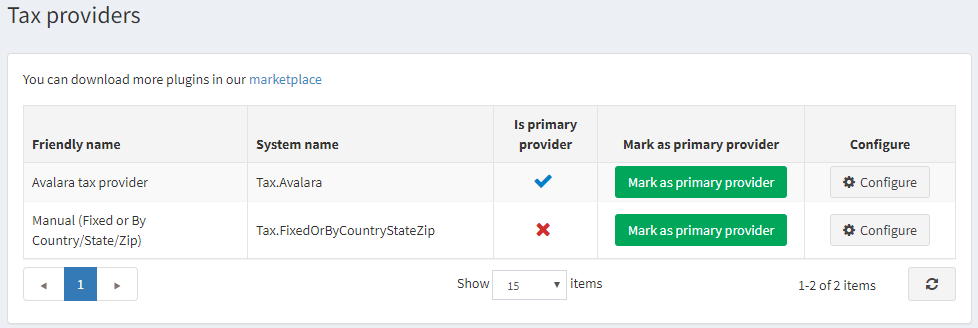
Click Mark as primary provider.
Click Configure beside the Avalara tax provider option in the list.
Follow the instructions at the top of the page to create an account. Then configure the plugin; each field's function will be annotated when "?" is hovered on.
Configure your AvaTax credentials:
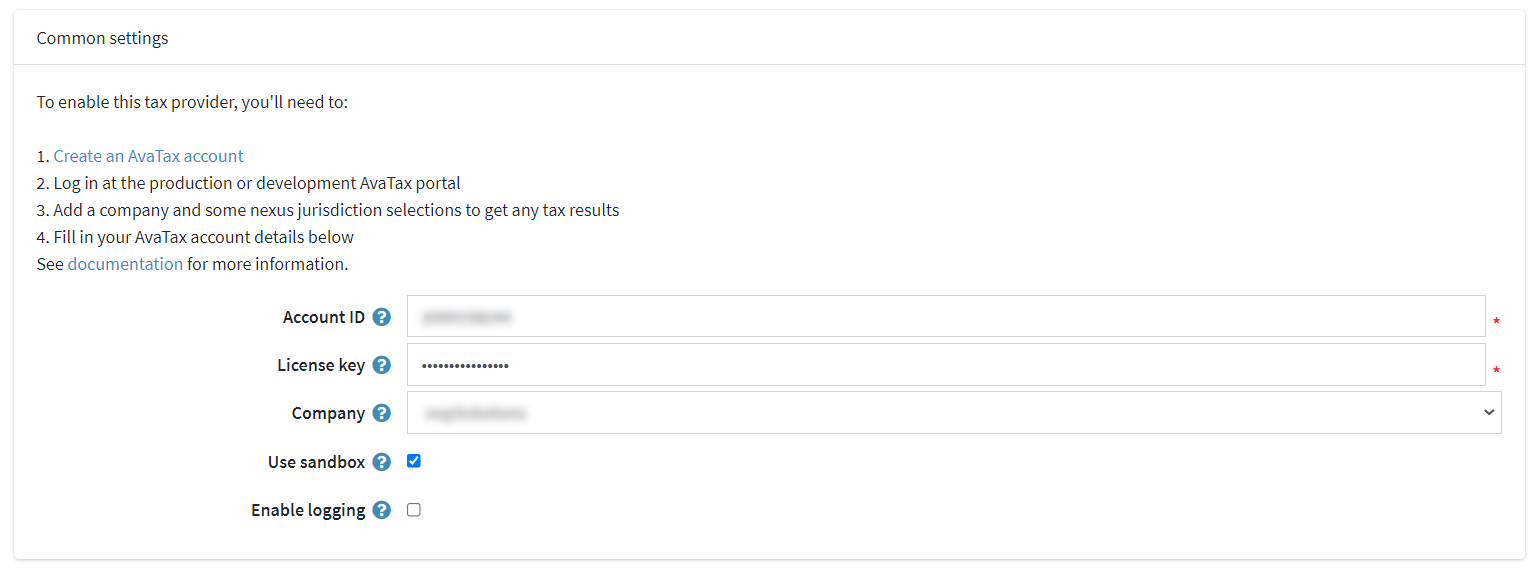
- Account ID: provided during your AvaTax account activation process.
- License key: provided during your AvaTax account activation process.
- Company: company profile identifier in the AvaTax admin console.
- Use sandbox is enabled to commit a test transaction.
- Enable logging enables logging of all requests to the Avalara services.
Configure tax calculation settings:
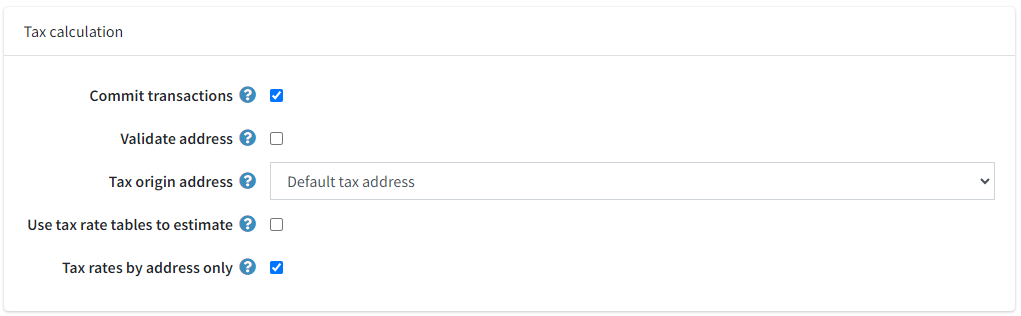
- Commit transactions is enabled to commit transactions right after they are saved.
- Validate address is enabled to validate the address entered.
- Tax origin address is used for tax requests to the Avalara services.
- Use tax rate tables to estimate determines whether to use tax rate tables to estimate. This will be used as a default tax calculation for catalog pages and adjusted and reconciled to the final transaction tax during checkout. Tax rates are looked up by ZIP Code (US only) in a file periodically updated by Avalara (see Schedule tasks).
- Tax rates by address only is shown if the previous setting is clear. Enable it to get tax rates by the address only (reduces the number of API calls but may bias results).
Configure tax exemption settings:
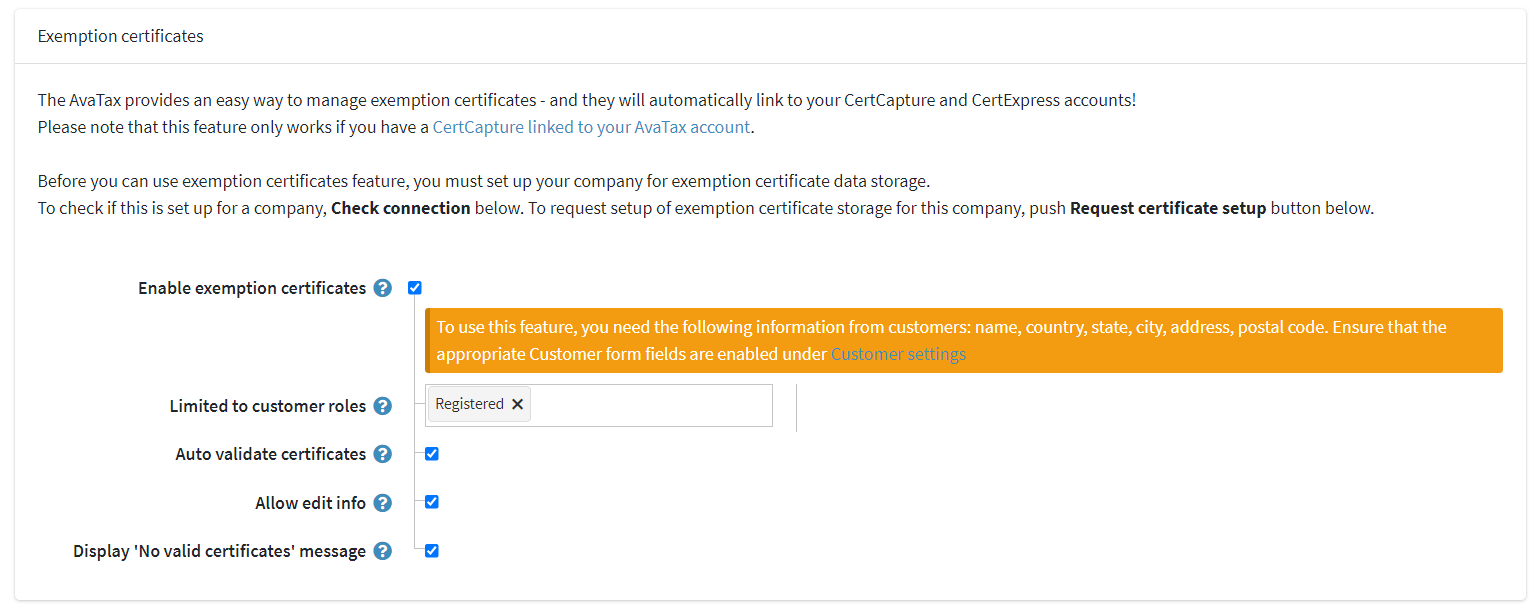
- Enable exemption certificates is enabled to activate tax exemption certificates.
- Limited to customer roles is used to restrict customers who have access to this functionality.
- Auto validate certificates is enabled to automatically validate new uploaded/created certificates.
- Allow edit info is enabled to allow customers to edit their info (such as name, phone, address) when managing certificates.
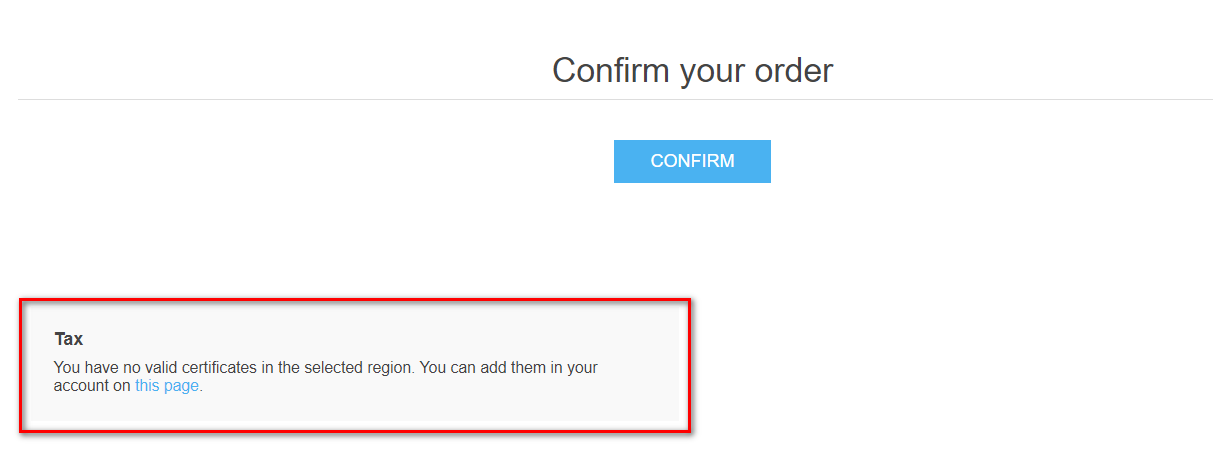
- Display 'No valid certificates' message is enabled to display a message that there are no valid certificates for the customer on the order confirmation page.
Tip
This message text can be edited in the language resources.
Save and click the Test connection button to perform the test connection.
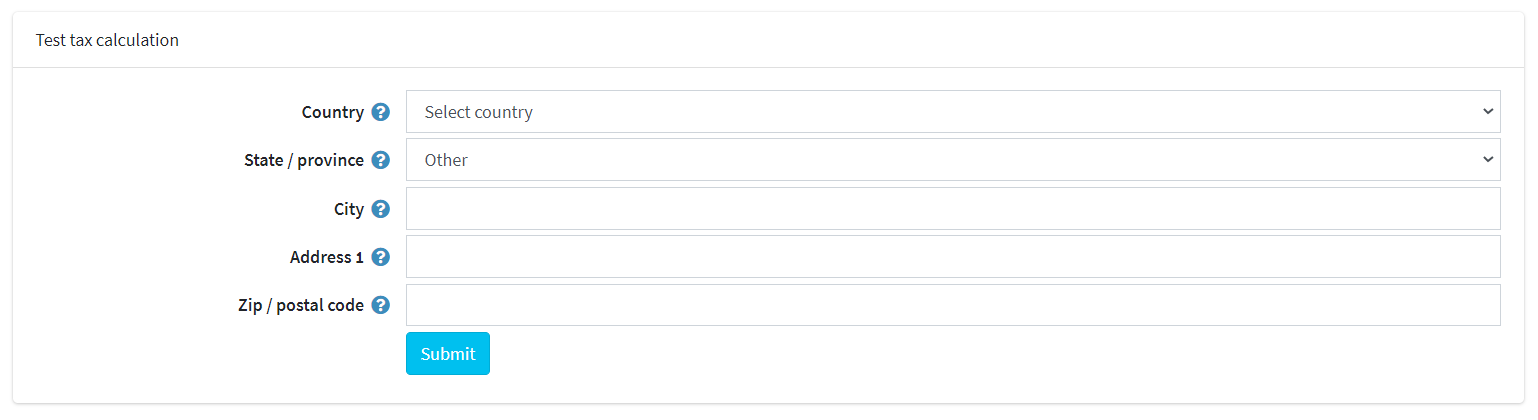
To perform the test tax calculation, fill the address form at the bottom of the page (please note that the nopCommerce Avalara tax plugin commits transactions to US addresses only) and click Test tax transaction.
Assign AvaTax code
Navigate to Configuration → Tax categories.
At the top right of the page, you will see the branded Avalara tax codes button. Clicking it will show the following dropdown menu:
Important
The Avalara tax codes button will only be displayed if the Avalara plugin is selected as the main tax provider on the Configuration → Tax providers page.
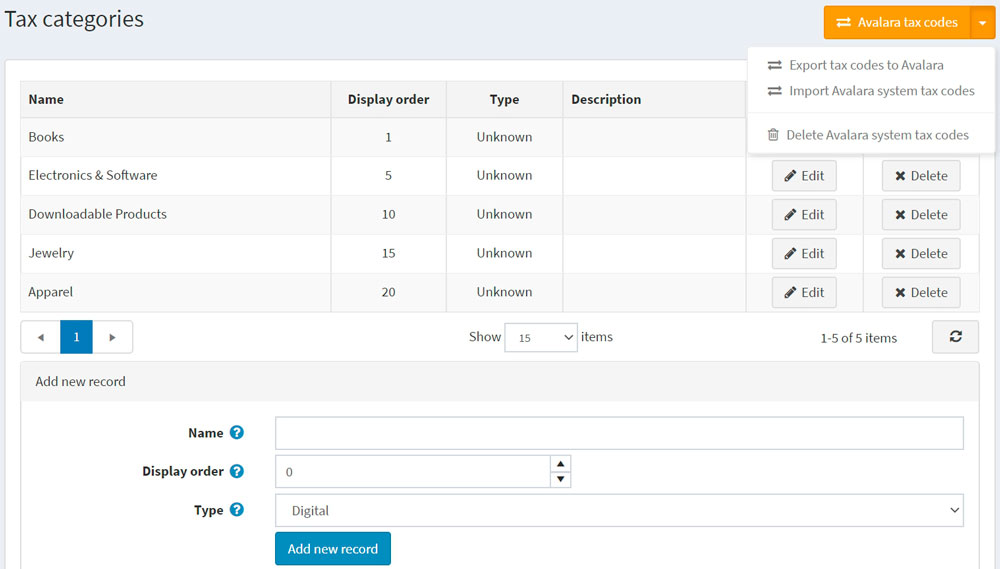
- Export tax codes to Avalara – exports all codes from your store to your AvaTax backend.
- Import Avalara system tax codes – imports all AvaTax tax codes from Avalara.
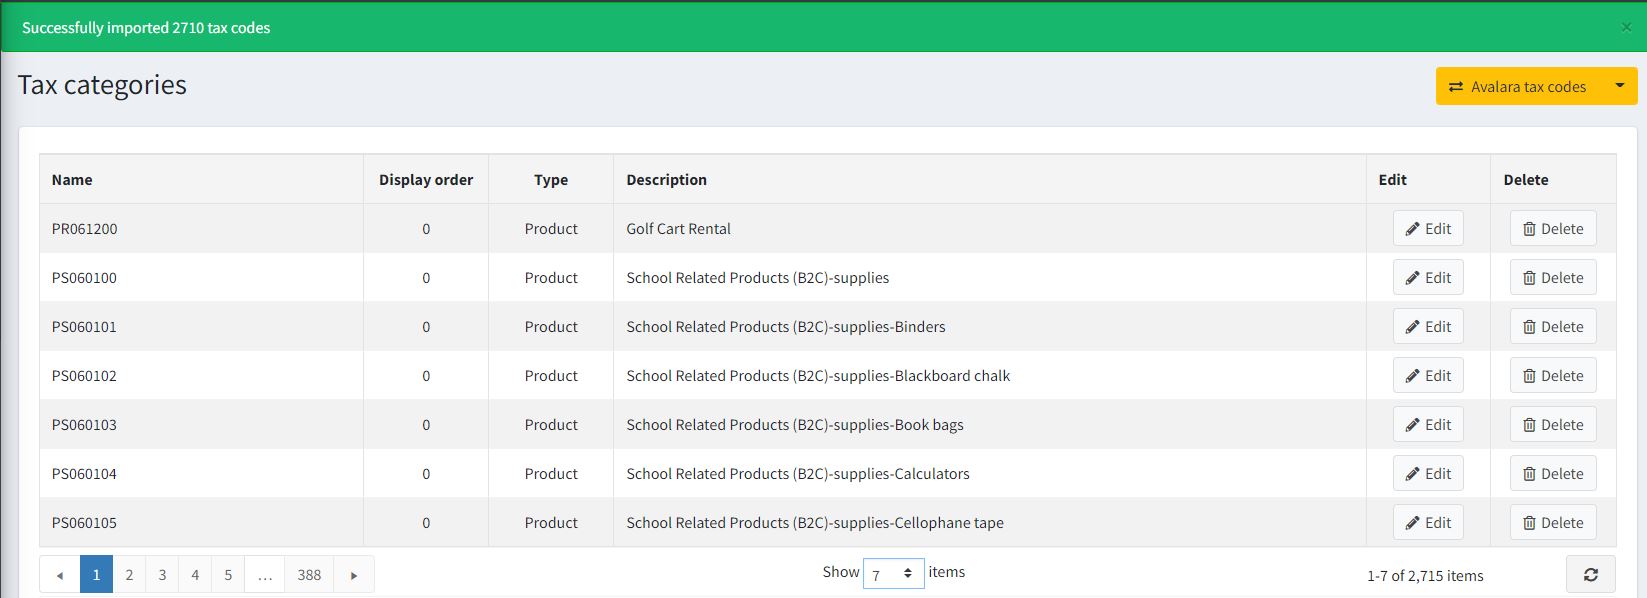
- Delete Avalara system tax codes – deletes all codes exported from Avalara.
Assign an AvaTax system tax code to an item
Go to Catalog → Products.
Select a product to open the product details screen and click Edit.
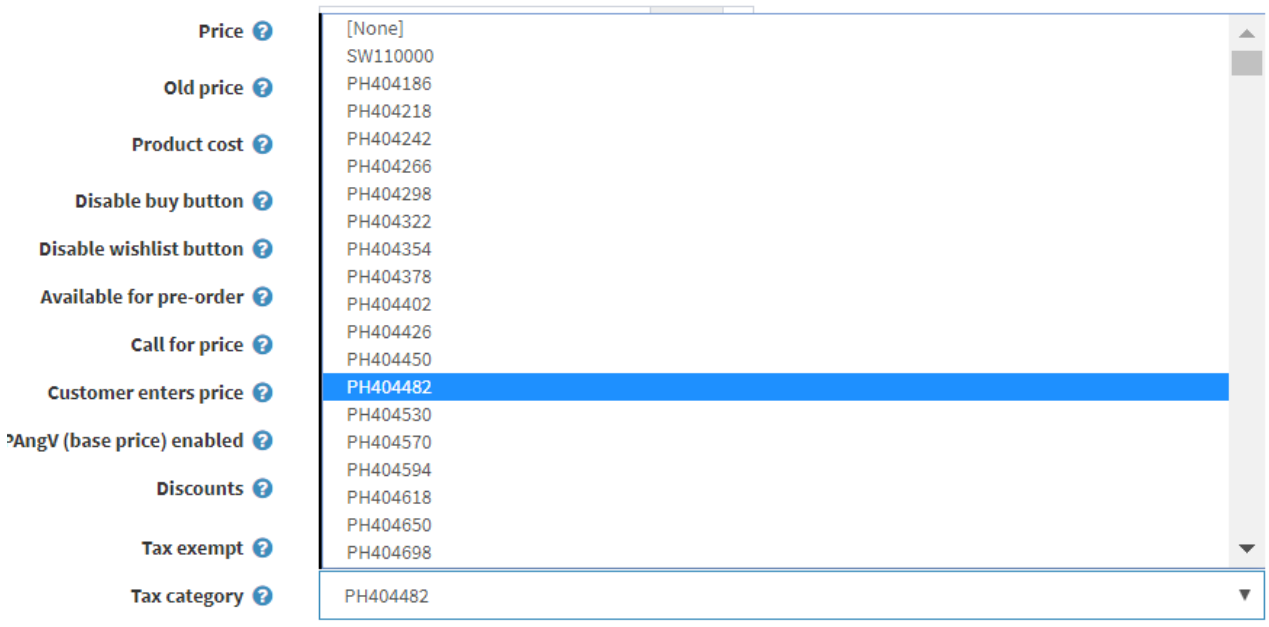
On the Product Details screen, in the Price panel, assign the appropriate code from the dropdown list in the Tax category field.
Important
Ensure that SKU is entered for better navigation in the AvaTax backend.
Click Save.
To see a listing of all available AvaTax system tax codes, visit http://taxcode.avatax.avalara.com.
Item Classification
Managed Tariff Code Classification is an Avalara service that assigns Harmonized System (HS) tariff codes to your product catalog. Once Avalara has classified the items you sell, include tariff codes in AvaTax calculations automatically or export them for use in your own business application.
Customs authorities use Harmonized System (HS) tariff codes to calculate tariff rates for all internationally traded products. Unlike sales and use tax codes, tariff codes aren't universal. Assign fully qualified tariff codes to the products that you sell internationally to calculate customs duties and import taxes.
In AvaTax, parent products are classified with a tariff code and any child SKUs inherit that classification.
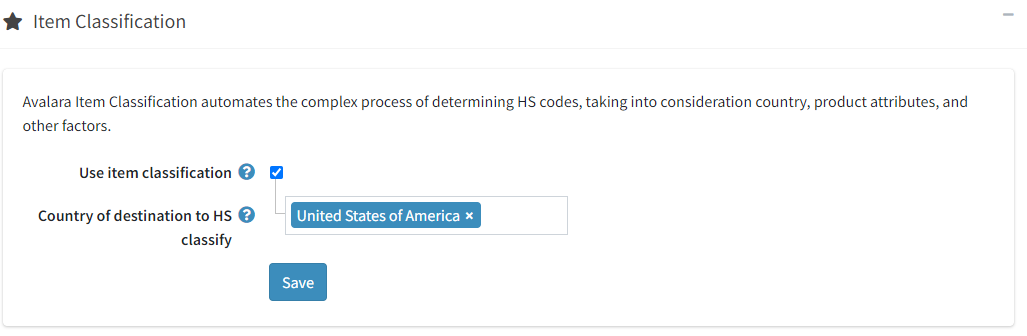
Activate the Item Classification functionality on the tab with the same name.
Specify for which countries HS classification codes are to be obtained.
Save the settings using the Save button.
Go to the Item Classification settings in your Avalara personal account.
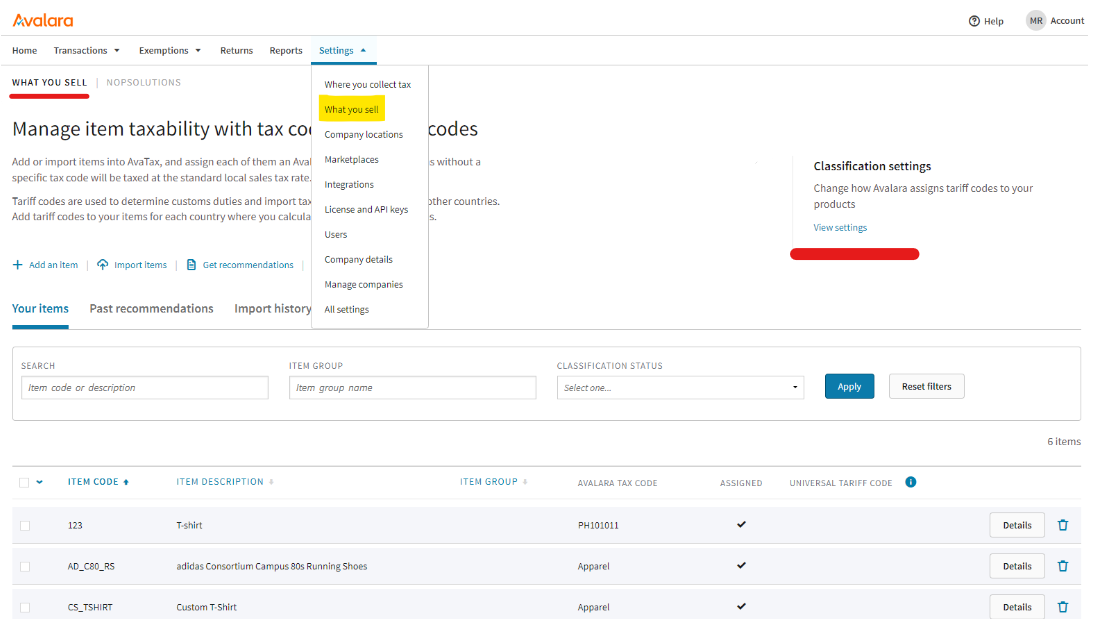
Specify the endpoint address for the webhook -
{your.store.url}/avalara/item-classification-webhook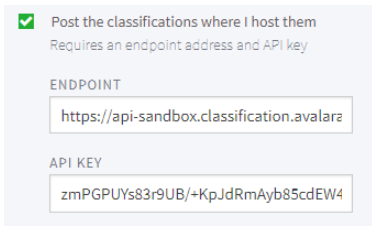
Go to the plugin configuration page again and specify which products should be sent for classification.
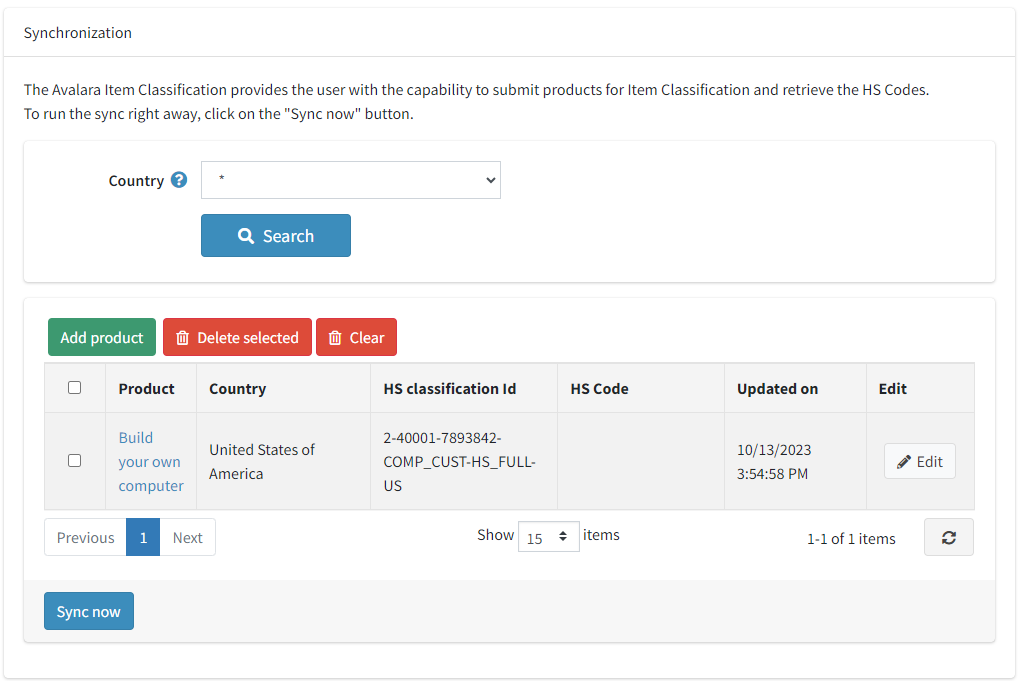
Click the Sync now button to start the process of sending products for classification. After receiving a response from Avalara service, the table will be filled with the received values (You need to update the tables manually). After that the received classification code values will be transferred to calculate tax rates.
Validate a customer address
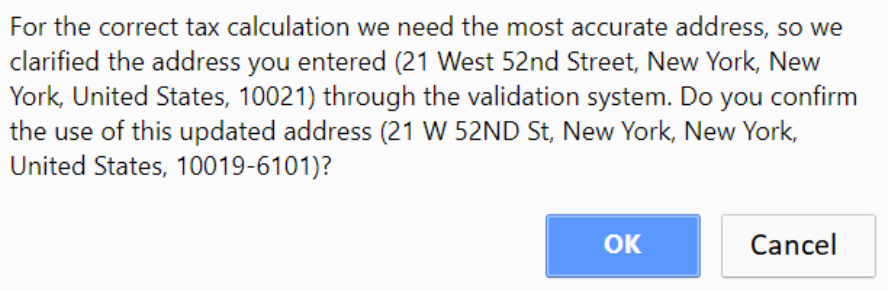
Ensure Validate address checkbox is on; in that case, the address will be validated automatically.
User will see the following screen:
Tax exemption
There are two ways to enable the tax exemption using this plugin:
Assign an AvaTax tax exempt category to a specific customer or an entire customer role in the admin area:
Click Customers → Customers → Edit customer
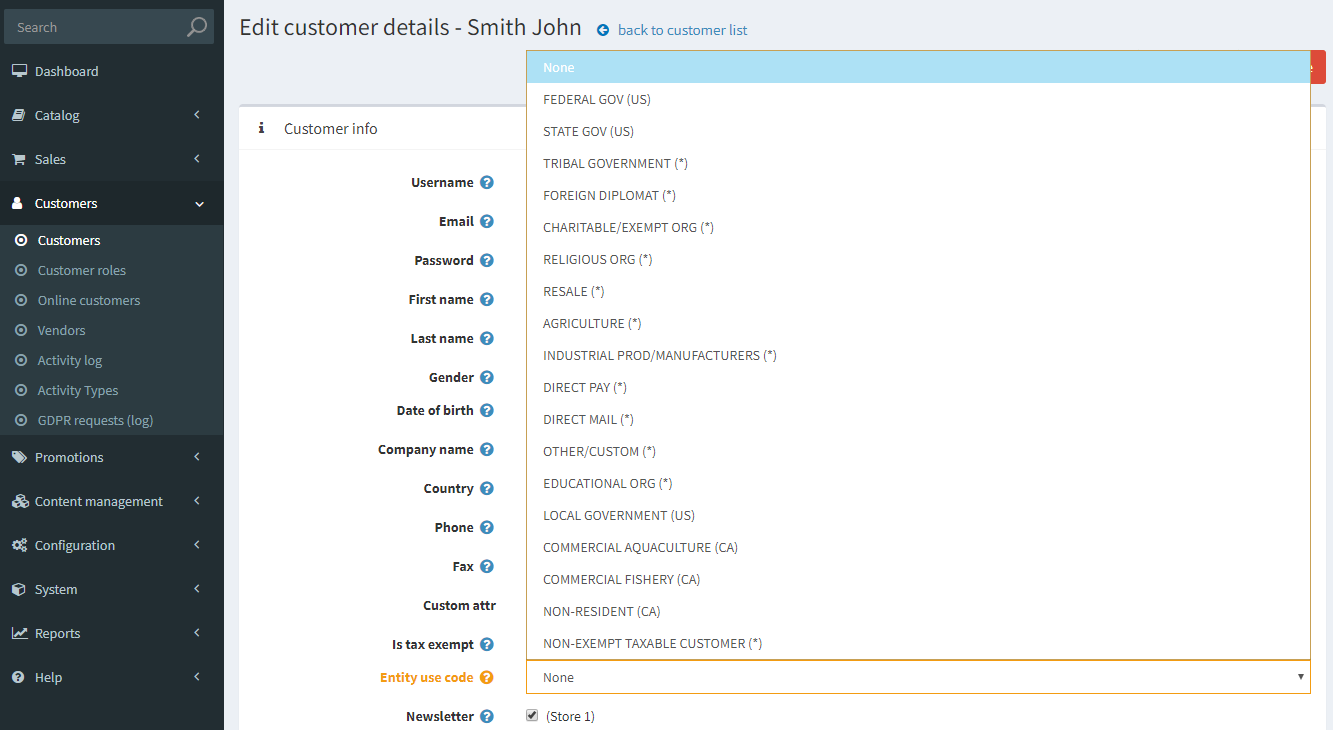
Find the highlighted Entity use code field and select the field, select the appropriate customer type code.
Click Save
Note
It is not necessary to select Tax exempt checkbox: assigning Entity use code is enough.
Activate the exemption certificates feature:
Important
You will need a CertCapture account for this feature to work correctly.
Ensure that the Enable exemption certificates checkbox is on; in that case, customers will be able to manage their tax exemption certificates before making a purchase.
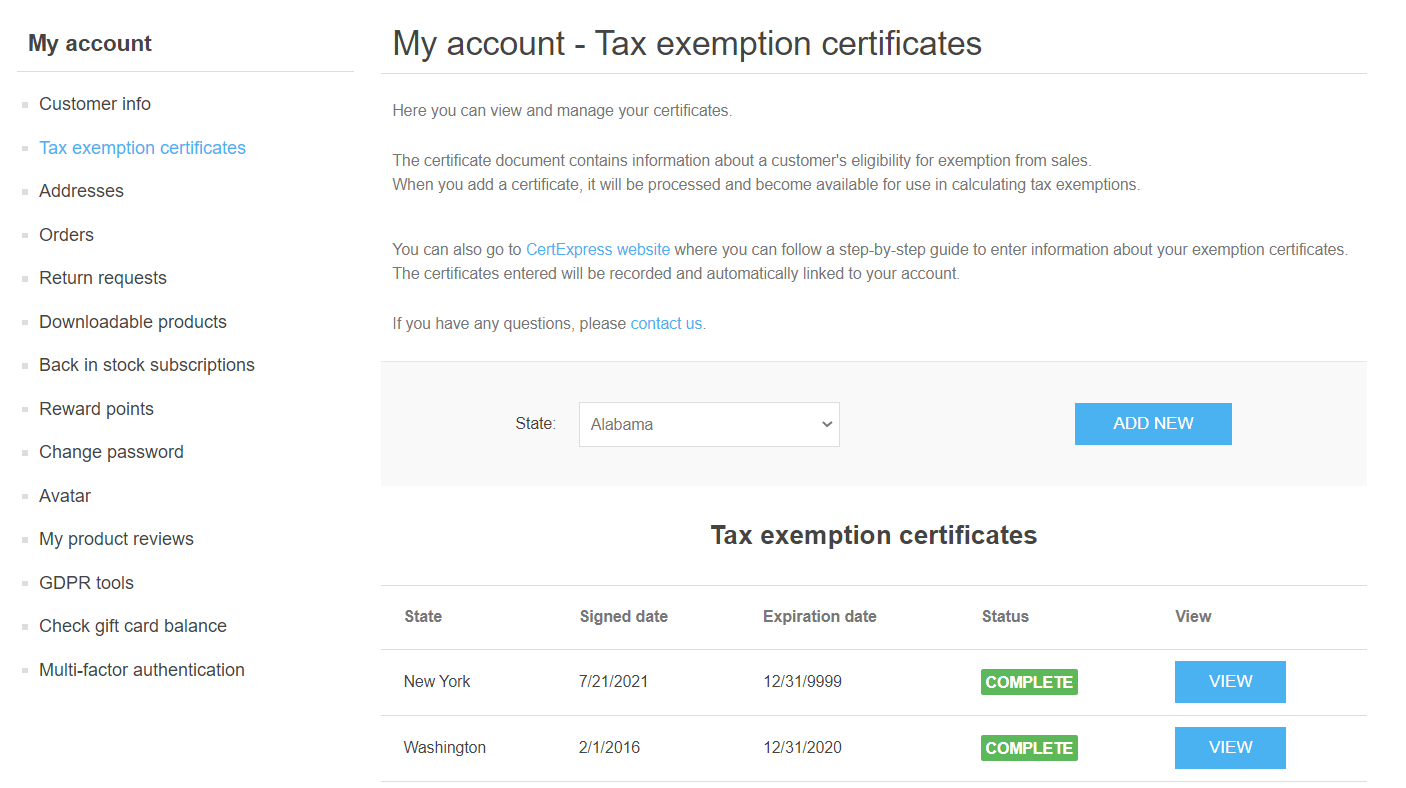
A new page will be added in the account section