
Custom HTML settings
To manage Custom HTML settings, go to Configuration → Settings → General settings.
This page enables multi-store configuration; it means that the same settings can be defined for all stores or differ from store to store. If you want to manage settings for a certain store, choose its name from the multi-store configuration dropdown list and select all the checkboxes needed on the left to set custom values for them. For further details, refer to Multi-store.
Custom HTML
Although typical programming knowledge is not required to fully use nopCommerce, in some cases you may need to add header and footer code. For example, you might want to use analytics, which is a popular reason for your site's files to get hacked.
Many tools and tracking scripts require you to add code snippets to your site’s header or footer. In this entry, we’ll show you how to add code to the nopCommerce header or footer HTML.
A standard website will break down into a few different components, much like a text document:
- Header. Your site's header contains a number of "preload" elements and details about your Secure Sockets Layer (SSL) certificate, encryption, any JavaScript, and more.
- Body.
- Footer. This works similar to your header, but ends at the bottom of the page instead.
Servers will load pages linearly - header, body, then footer. This means that the header code will load first, and the footer code after everything else.
Define the Custom HTML settings as follows:
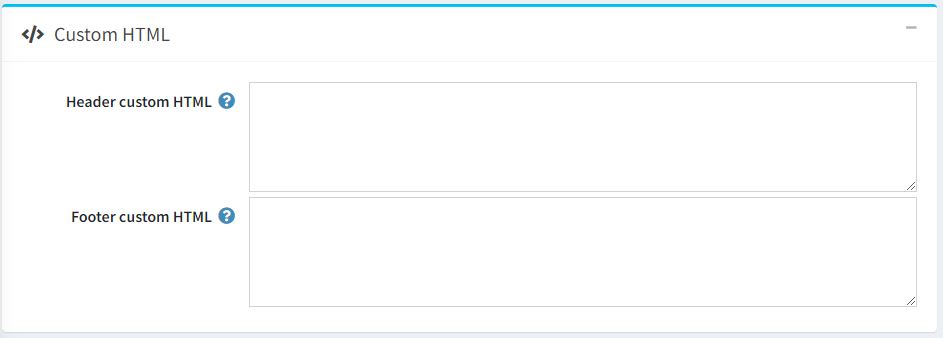
This will add any code at the global (i.e. site-wide) level.
